Delega - Digital Agency HubSpot Theme
Introduction
Thank you for purchasing our theme. In this document, we provide all kinds of good information with all the details you need to use our theme. We hope you have fun and enjoy working with our theme
- Theme version: 1.0.0
- Created date: June 13, 2021
- Update date: June 13, 2021
- Author: the9t9
Email: softhopperbd@gmail.com
Skype id: md.shagor32
Getting Started
Required must have have acount and login https://app.hubspot.com/login
- https://app.hubspot.com/login
How to install HubSpot
After purchase and download we have file themeforest-20396082-themename.zip
Install HubSpot
This is probably the simplest way for most users. Here are steps you need to take:
- Step 1 - Login to your https://app.hubspot.com/login
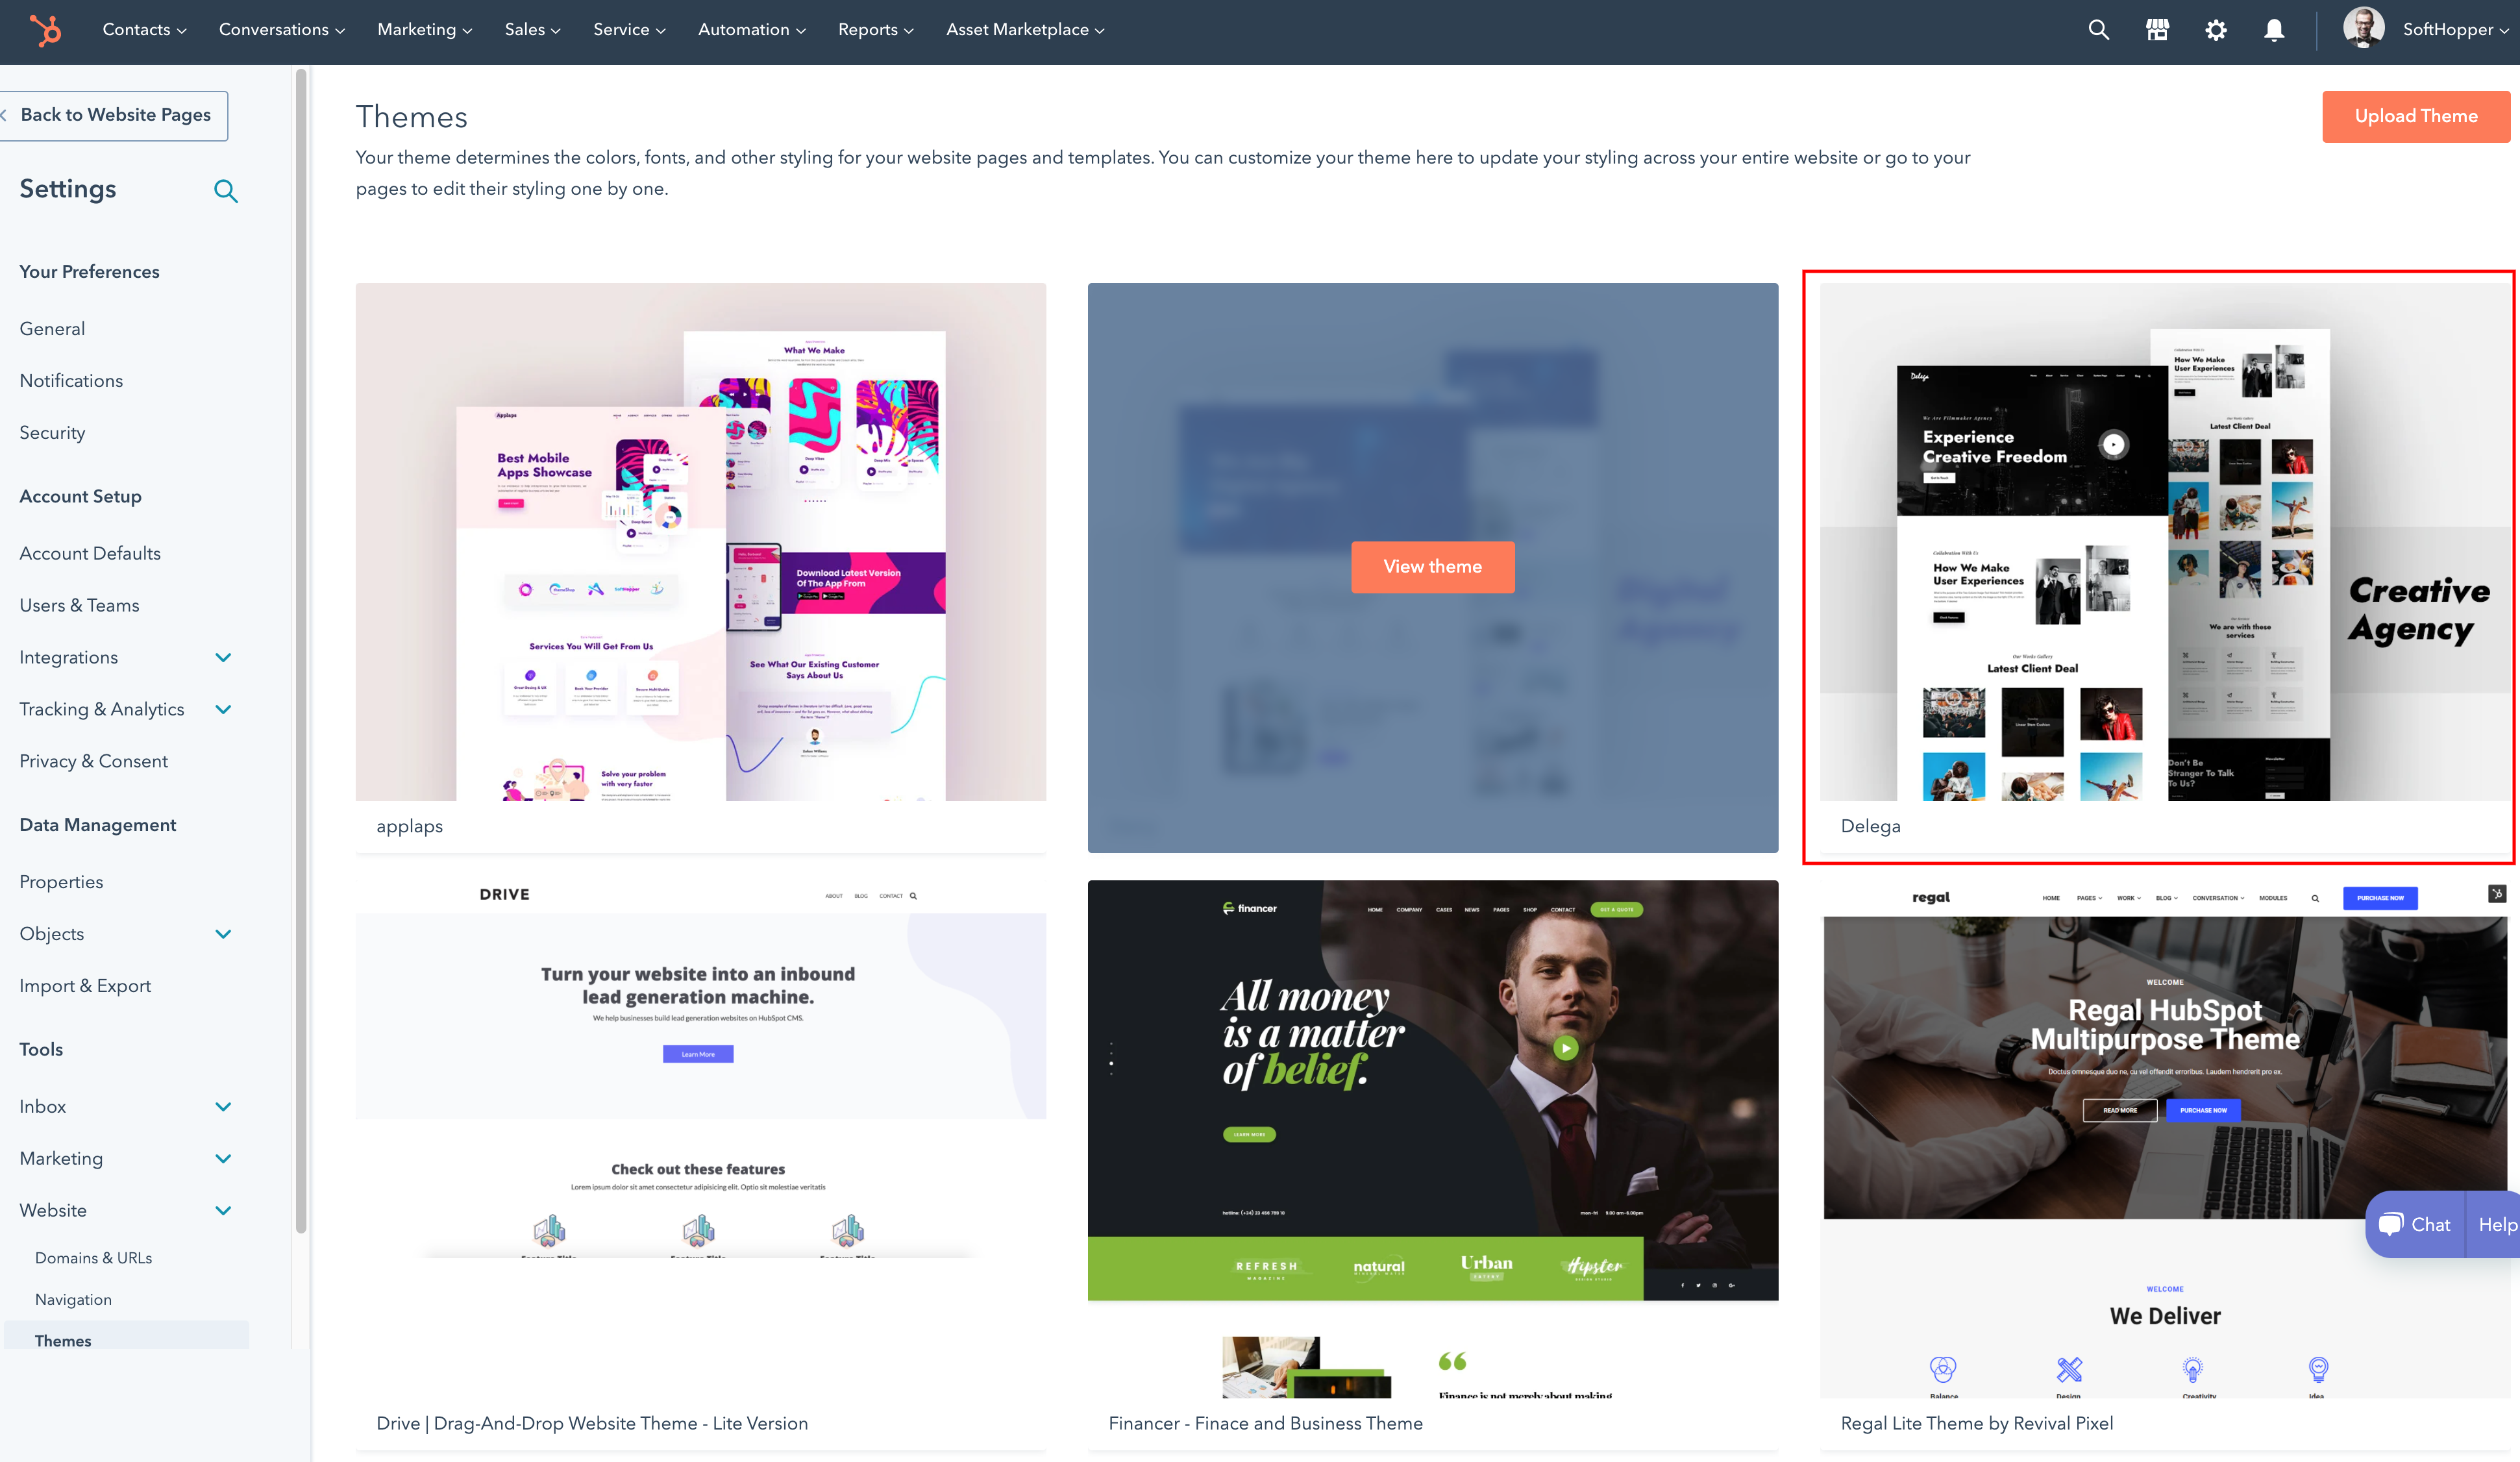
- Step 2 - Go to Navigation > Setting Icon
- Step 3 - After Click In the left sidebar menu click Website > Themes .
- Step 4 - Next, Click Upload Theme Choose File button to browse themename.zip file in locate.

Create Build publish a page
-
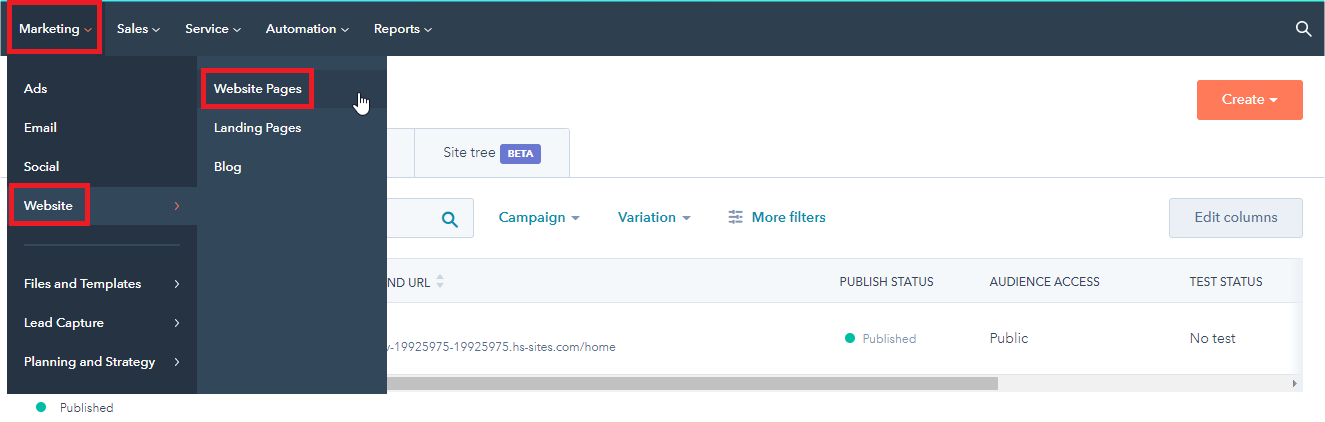
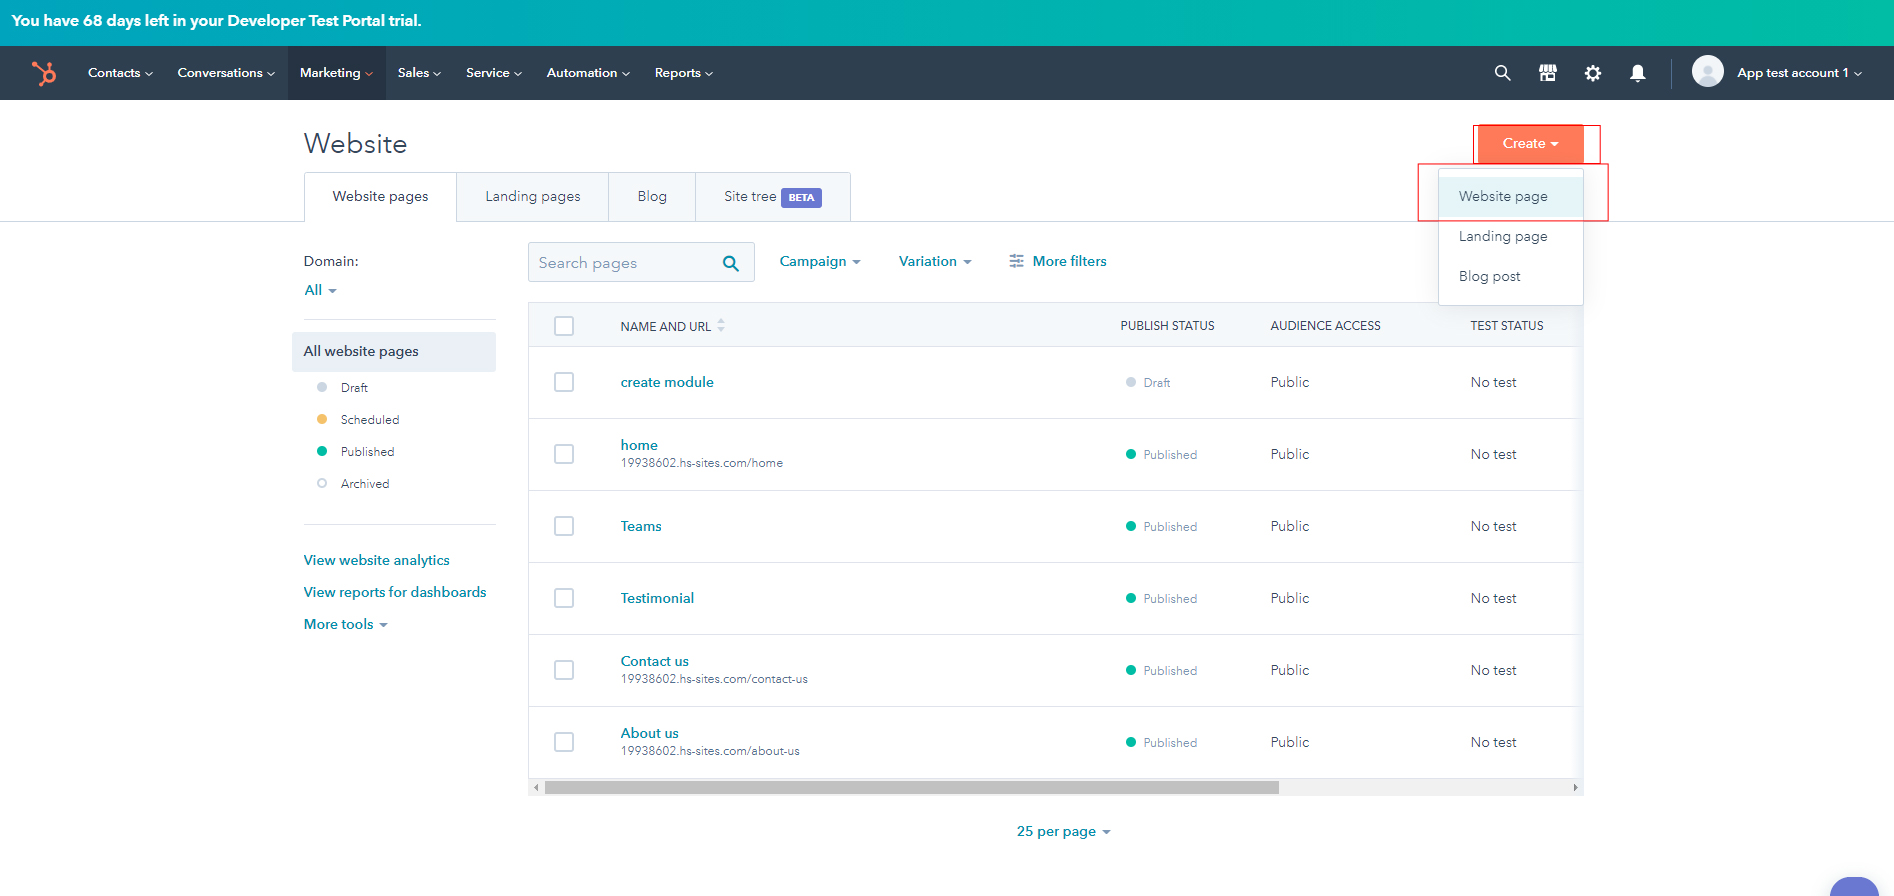
In your HubSpot account, navigate to Marketing > Website > Landing Pages or Website Pages.
-
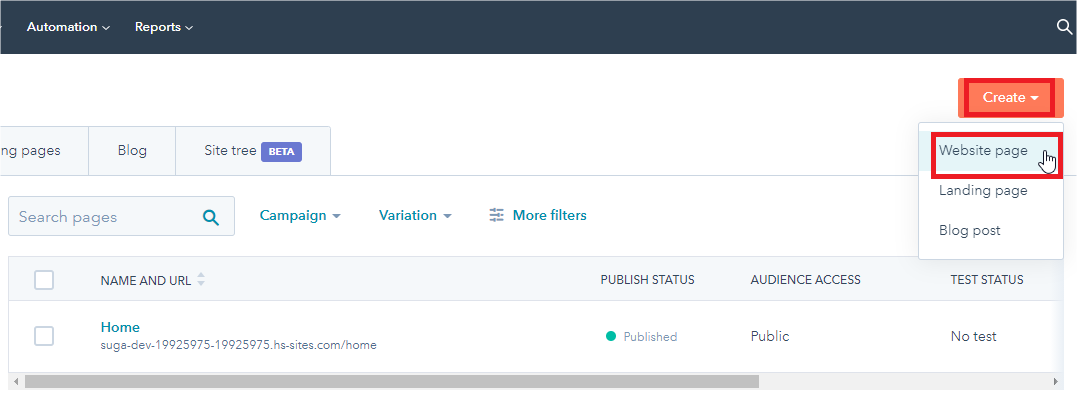
In the upper right, click the Create dropdown menu and select Website page or Landing page.
-
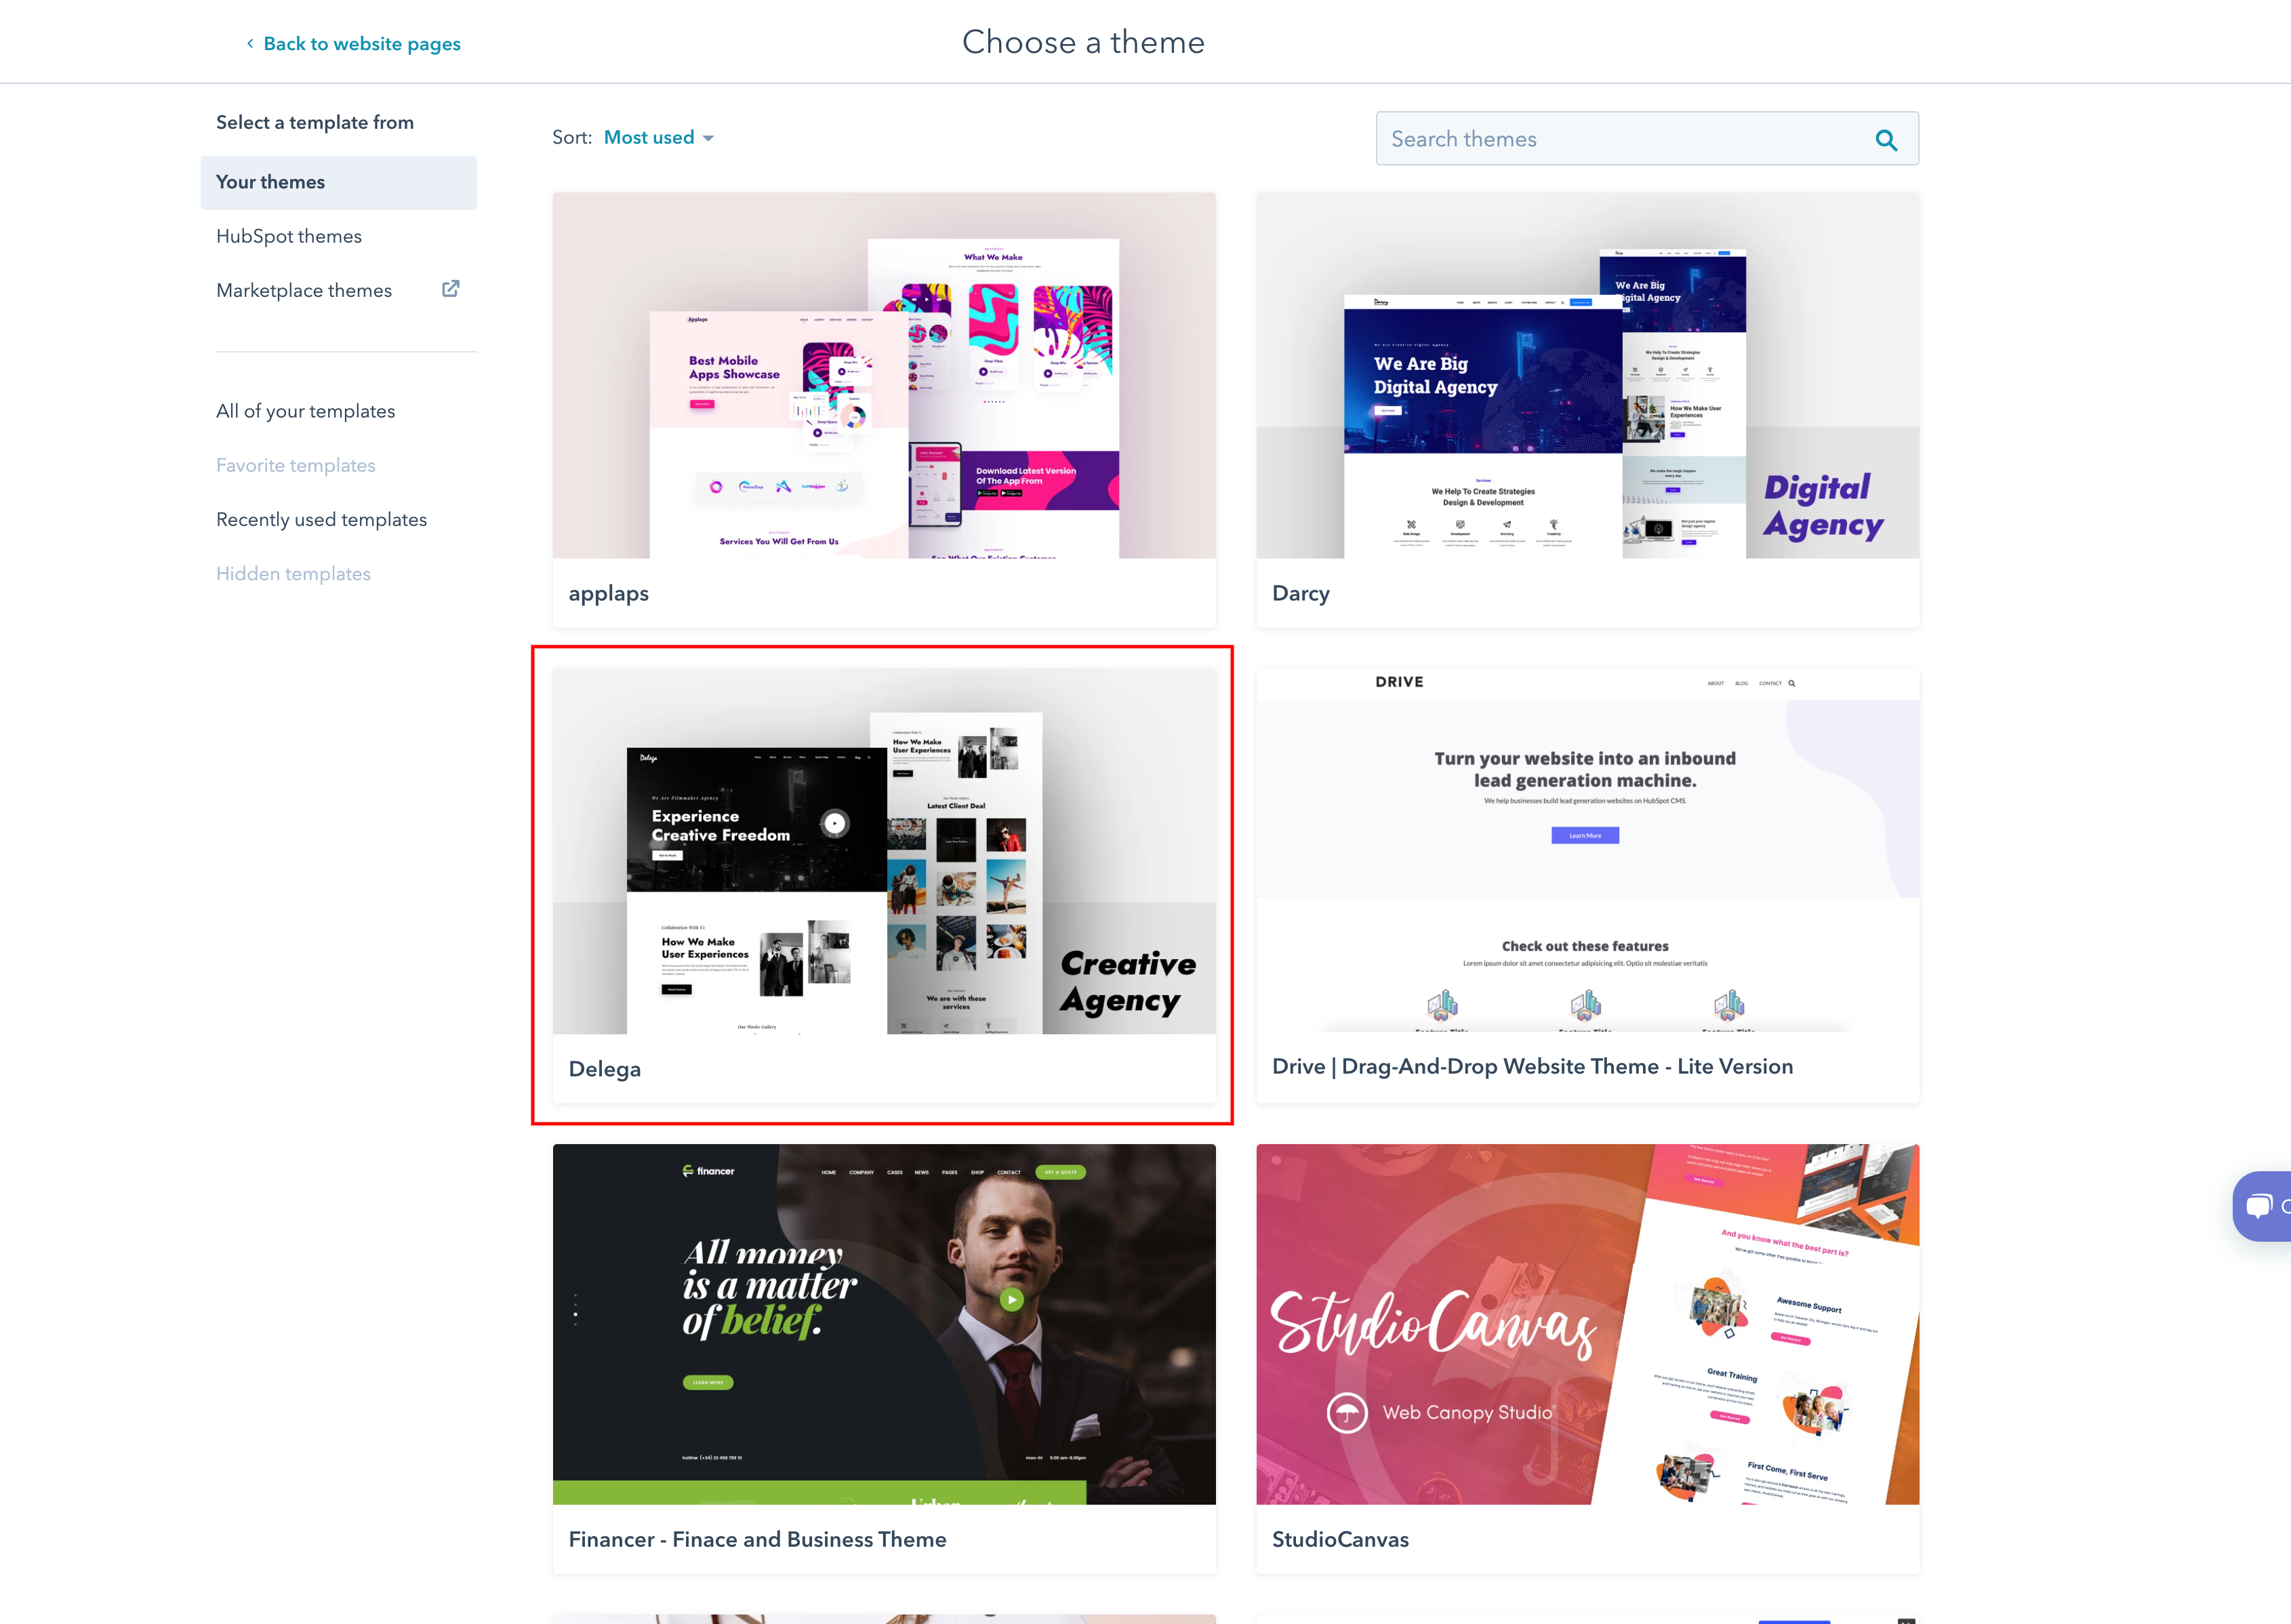
Hover over a template and click Preview in the upper right to see how it will appear on desktop or mobile
device. To create a new page with this template, click Use template in the upper right.
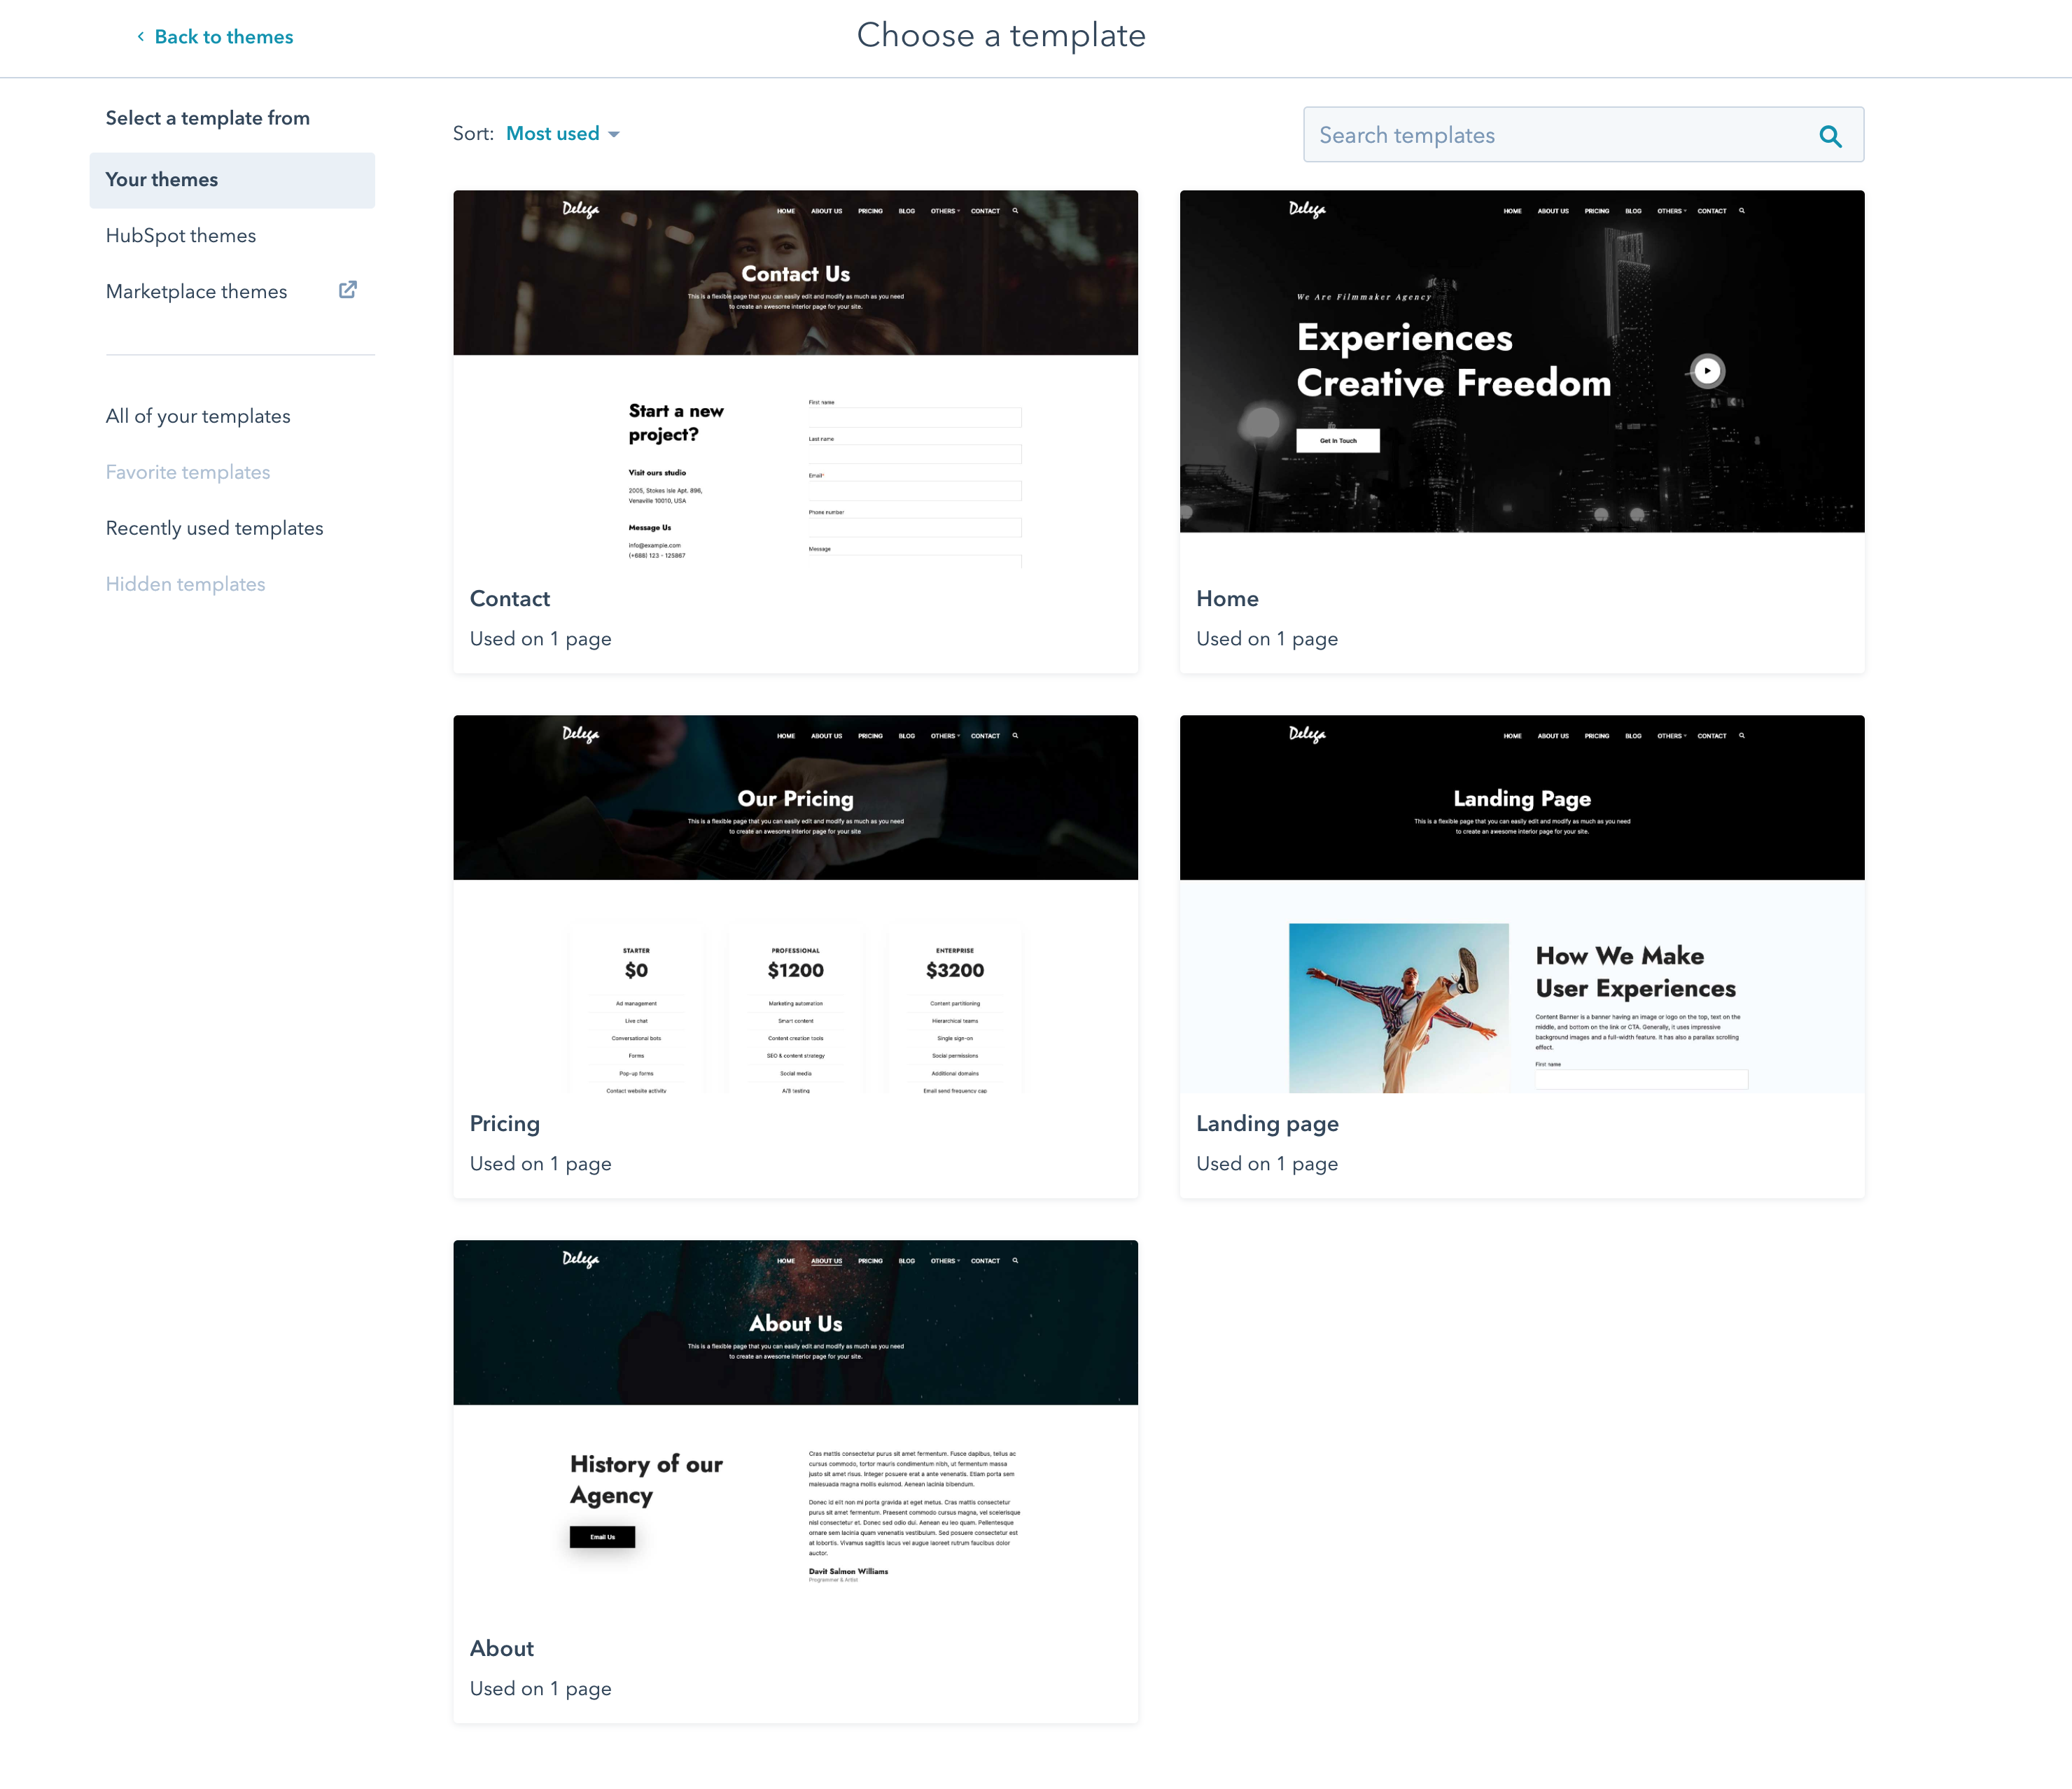
-
After choose template, choose Page.
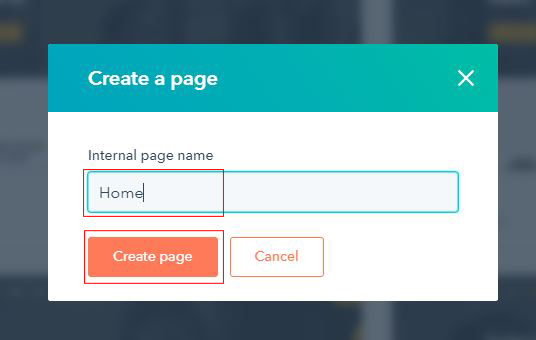
-
Give your page an internal page name and click Create page.
Please note: you'll be required to give your page a public title in your settings before publishing it.
Edit an existing page
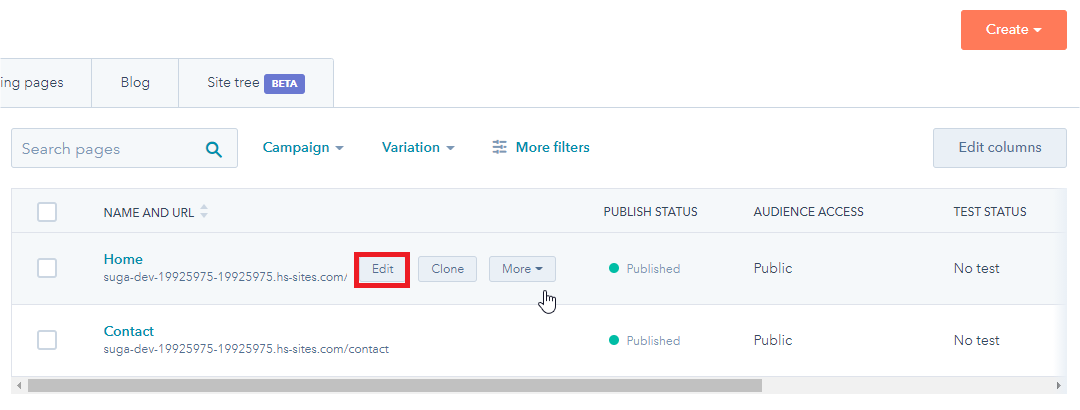
- In your HubSpot account, In your HubSpot account, navigate to your landing pages or website pages..
- Hover over an existing page in your dashboard and click Edit.
Edit content in a module
Note*: In the Contents tab on the left, you can view and edit all the modules in your page template. If your page contains global content, such as a page header, you'll edit this in your page within the global content editor.
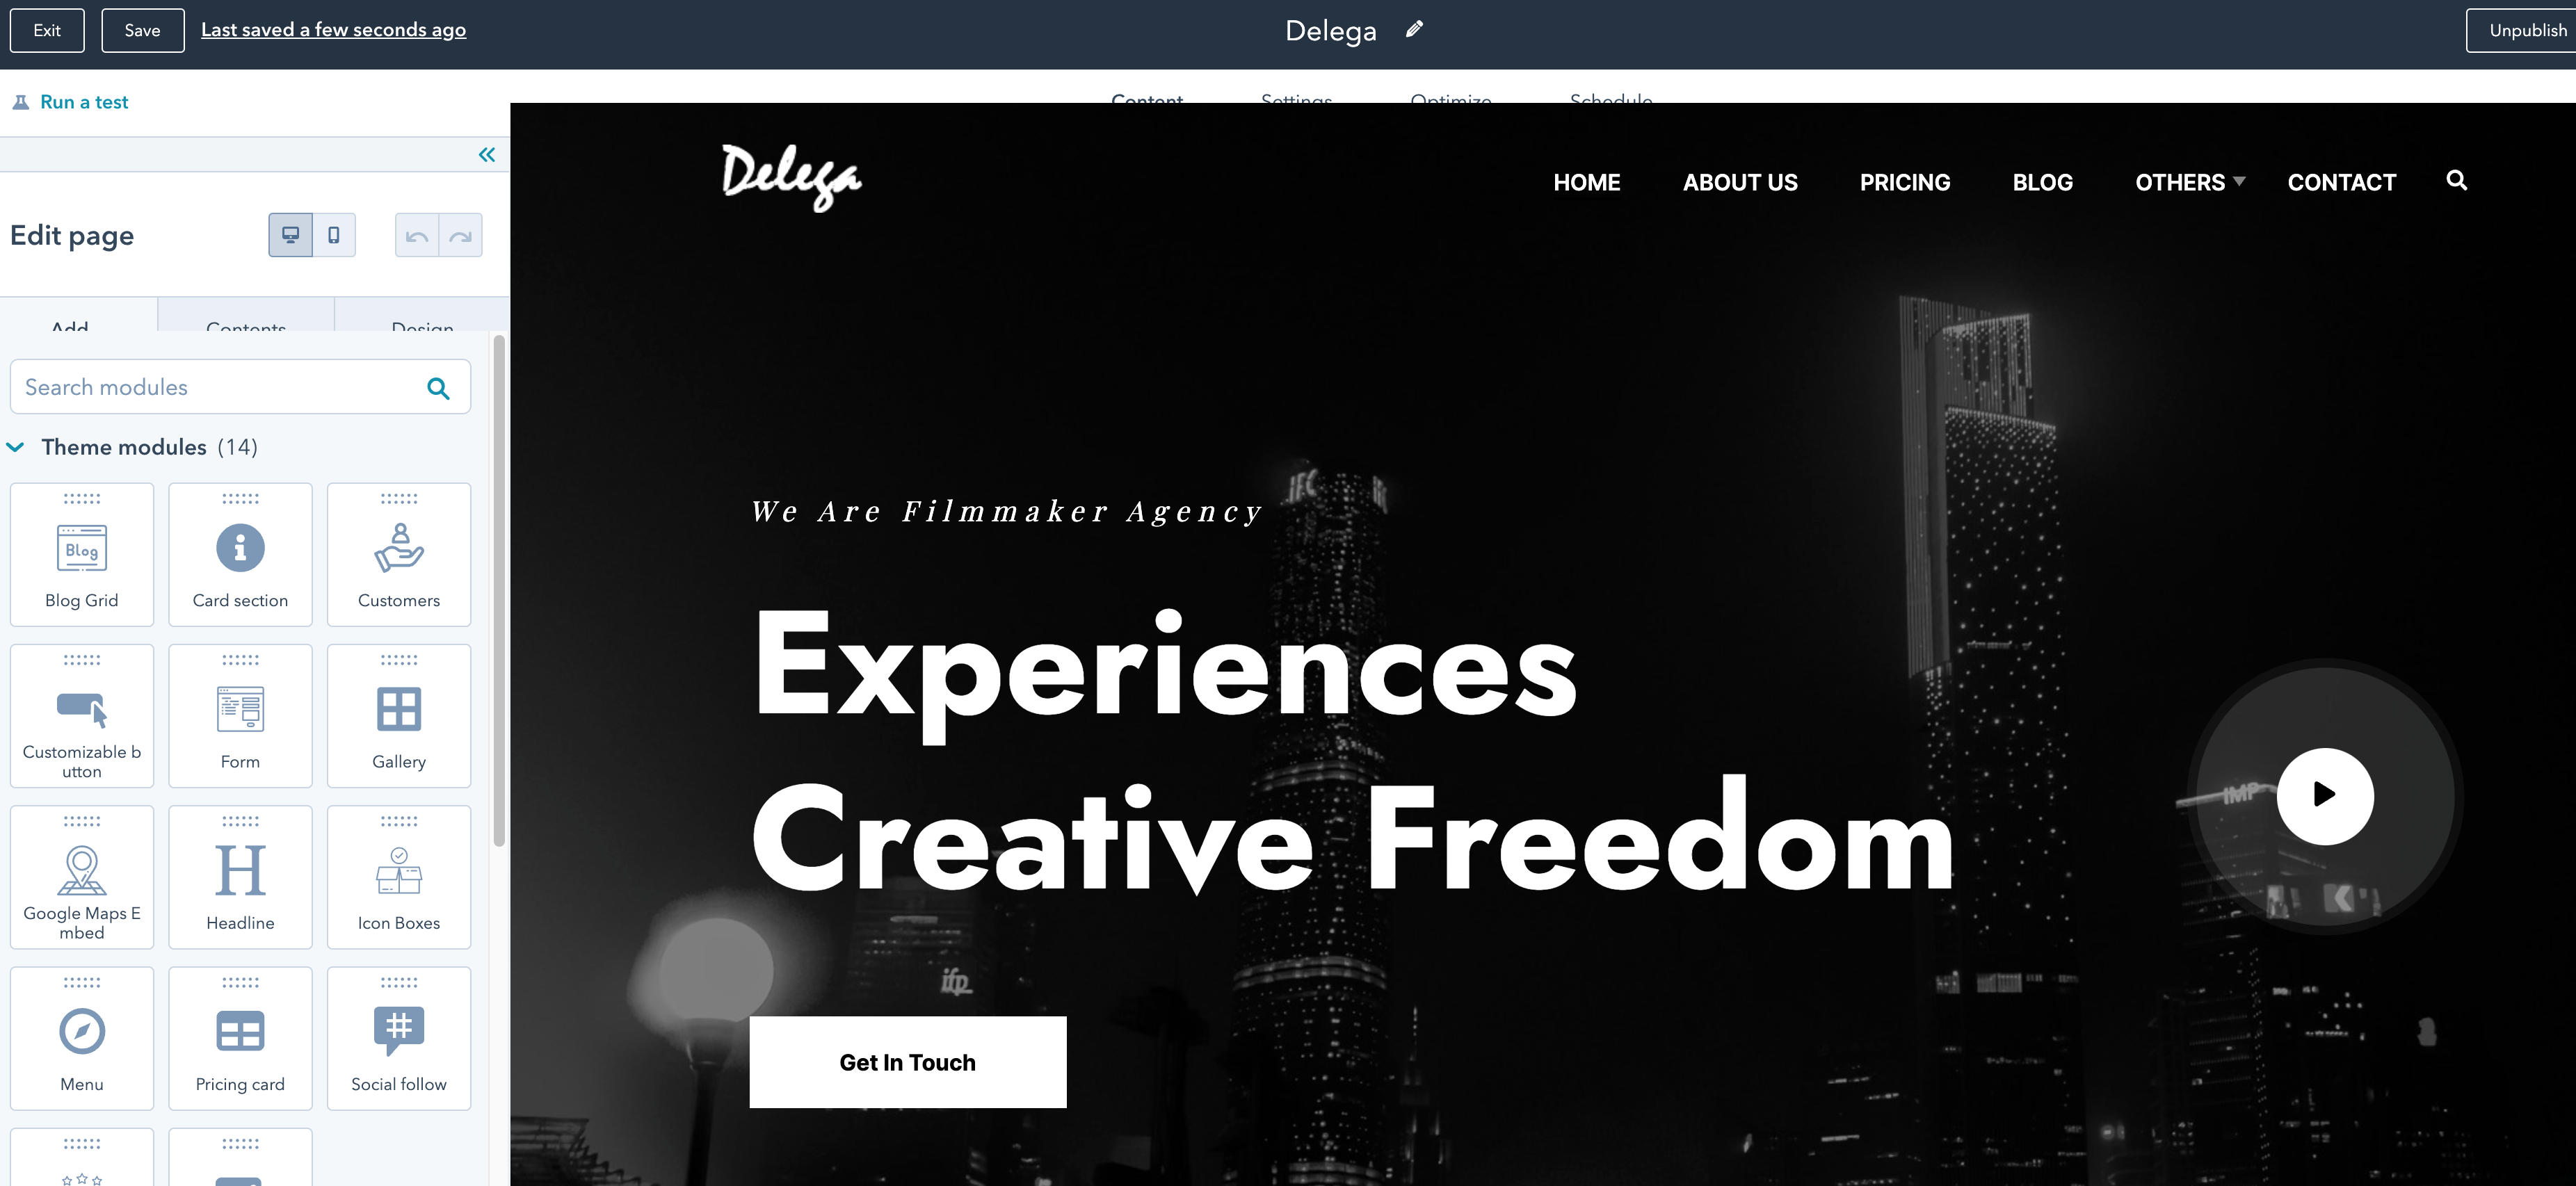
- To edit a module's contents, hover over the module and click the edit pencil icon.
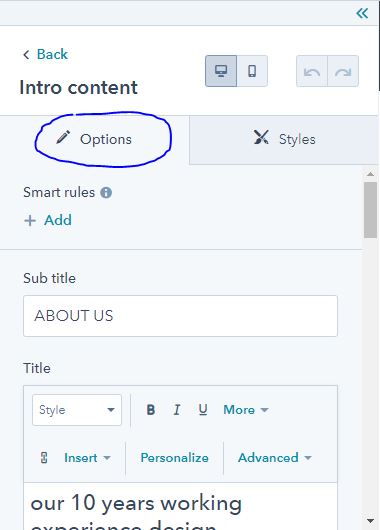
- Some module types, such as headings, can be edited inline directly on the page preview. Clicking a module will
also open its editing options in the left panel.
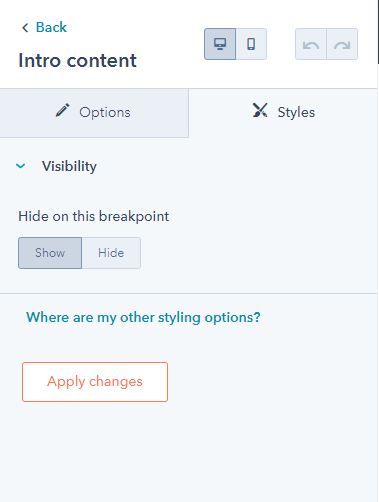
- Click a module to select it in the editor. In the left panel, click the Styles tab to access the styling options for that particular module
Edit your page settings
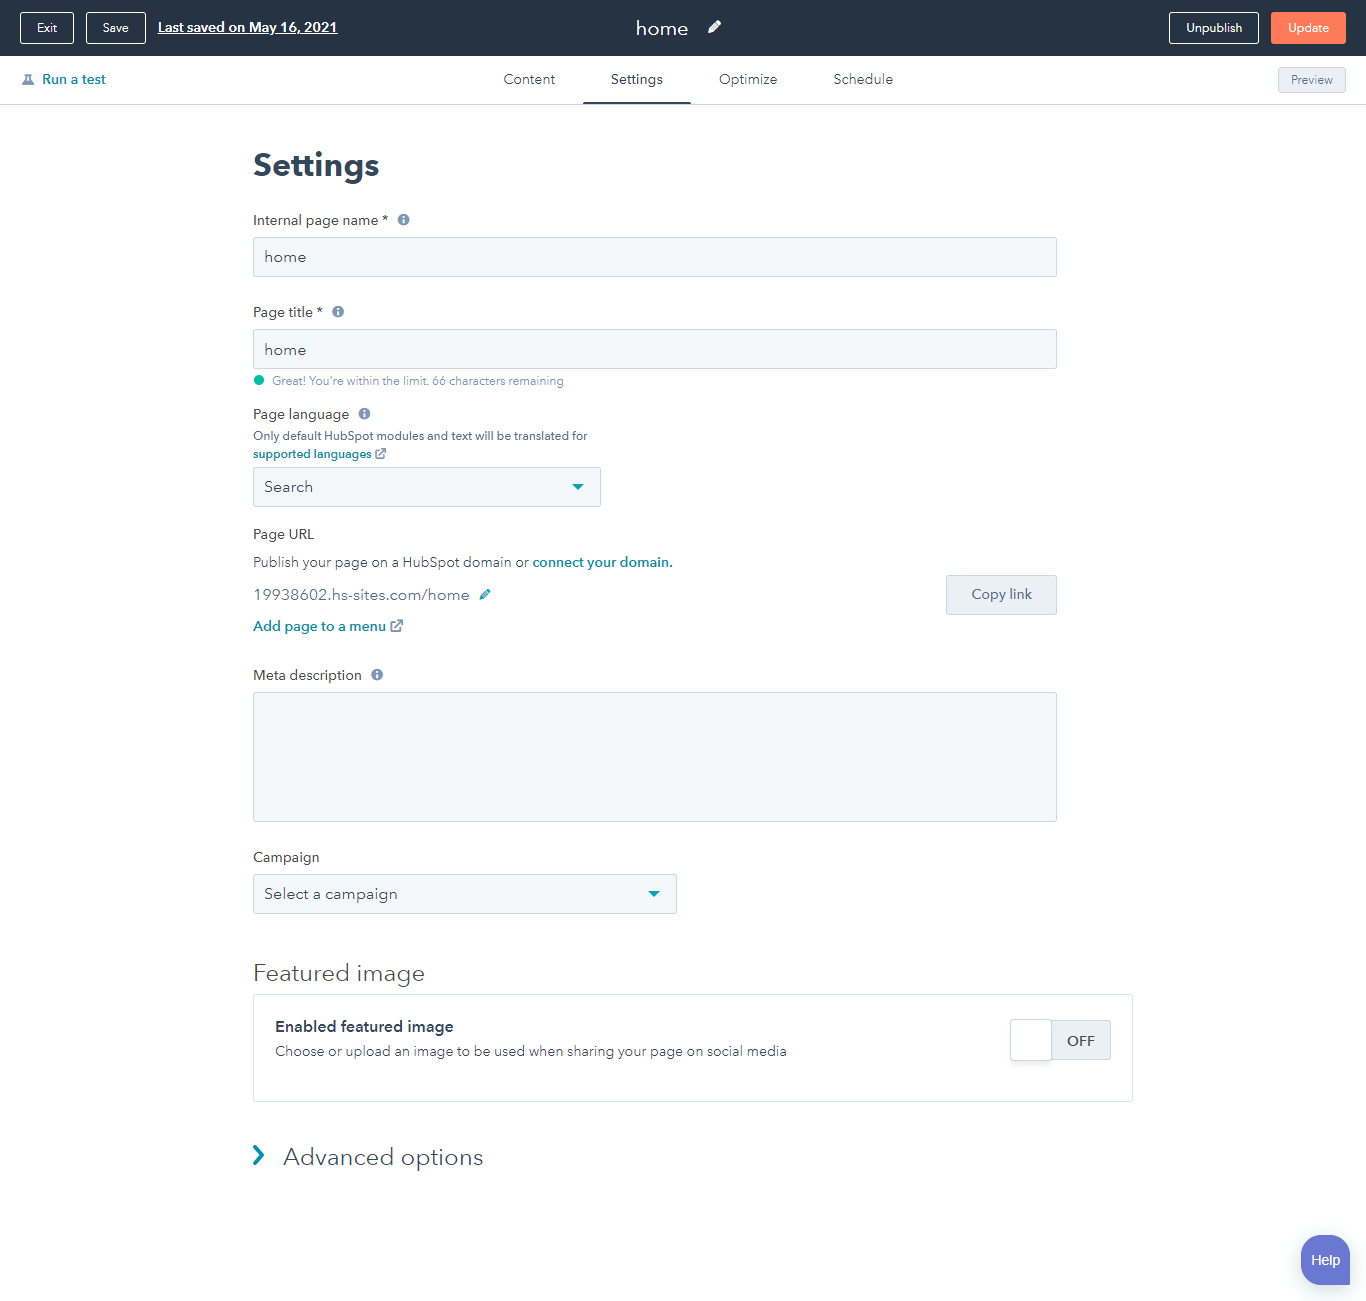
- To edit your page settings and add some basic page information, click the Settings tab at the top of the page editor.
-
Setting Pgae:
- Internal page name: the internal page name is the name you added when you first created the page and is referred to in the dashboard. It is not shown to visitors.
- Page title: the title that displays in the tab at the top of your web browser when the page loads.
- Page URL: the URL for your page. It appears in the URL bar within the browser when visitors navigate to this page. You can edit your page URL even after it's been published.
- Add page to a menu: add the current website page you're working on to a new or existing advanced menu in your content settings.
- Meta description: the content that will appear in search results below the page title.
- Campaign: associate your page to a HubSpot campaign. Select Add new to create a new campaign.
- Featured image: click to toggle this switch on for a specific image to be featured when your page is shared on social media. Click Upload to select an image from your computer or Browse images to select an image from your files tool.
- Once you've finished completing all the required items for your page, click Publish.
Create Home page
Setup home page with CMS Hubspot
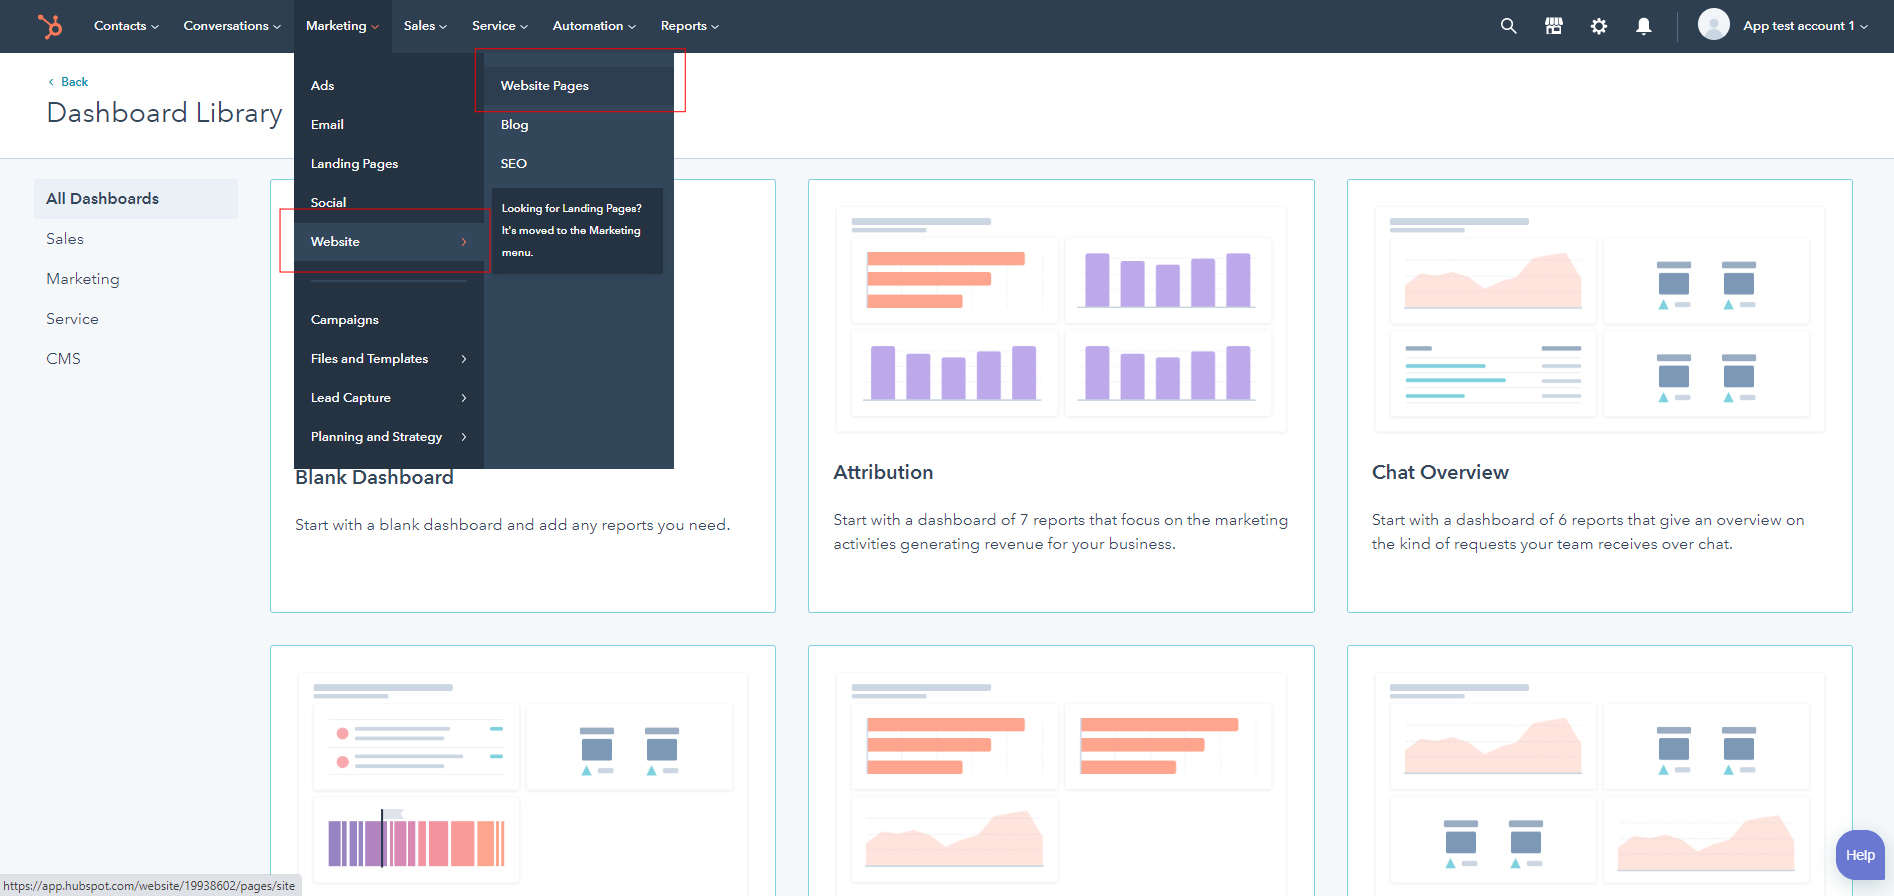
- In HubSpot, navigate to Marketing > website > website Pages.
-
Click to Create choose website Pages.
- Choose a template from your newly uploaded theme by selecting the Delega CMS Theme..

- Choose page Home.
- After create page, drag and drop modules to contnet page.
- In edit page, navigate to Settings > edit Internal page name > edit Page title > Publish .
Theme Navigations
Setup A New Menu
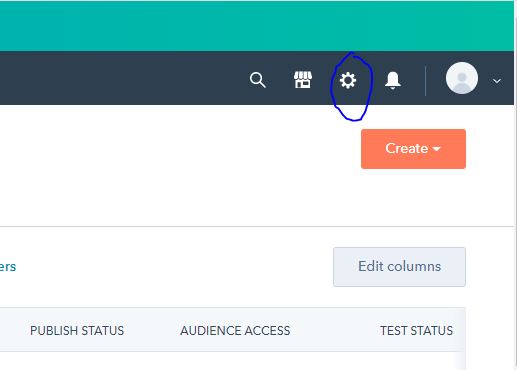
- In your HubSpot account, click the settings icon settings in the main navigation bar
- In the left sidebar menu, navigate to Website > Navigation .
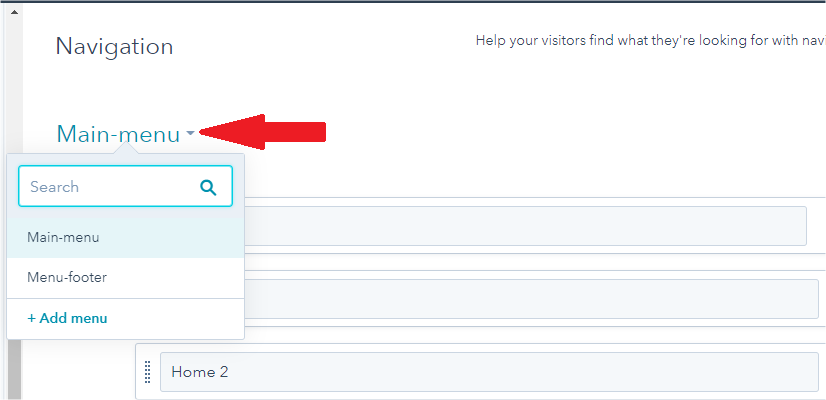
- Use the dropdown menu to select an existing menu to update. To create a new menu, click + Add menu .
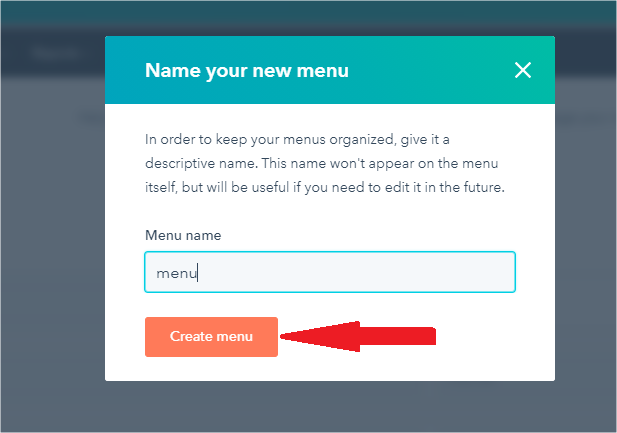
- Enter Menu name, after click Create Menu

- Click Add menu item

-
Hover your mouse above or below an existing menu, then click the + icon and select an item to add to the
navigation:
- Add item without link: adds another item to your menu that doesn't link to an existing page. This is often used as a placeholder for child menu items.
- Add page link: adds a menu item that links to a specific HubSpot page.
- Add URL link: adds a menu item that links to an external URL.

- Give your menu item a name in the Menu item label.
- Choose a HubSpot page or enter a URL for this menu item if you want it to be linked.
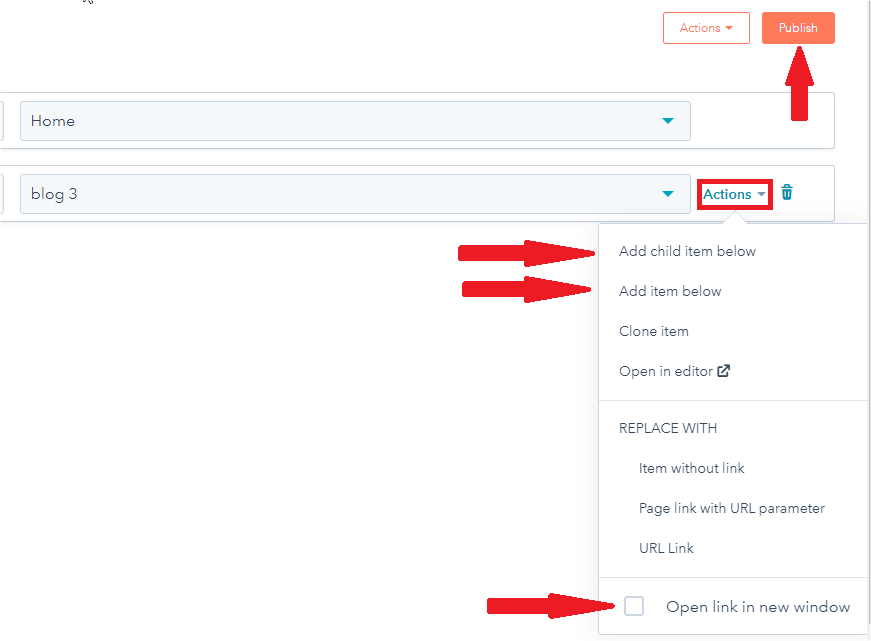
- Choose Action
- You can also add a menu item by hovering over the right side of an existing item and clicking Actions > Add item below.
- Hover over the top-level menu item. Then click Actions and select Add child item below.
- If you want this menu item link to open in a new window, hover over the right side of the menu item. Click the Actions dropdown menu and select the Open link in new window checkbox.
- To finalize the changes you've made to your menu, click Publish.
Setup Header and Footer
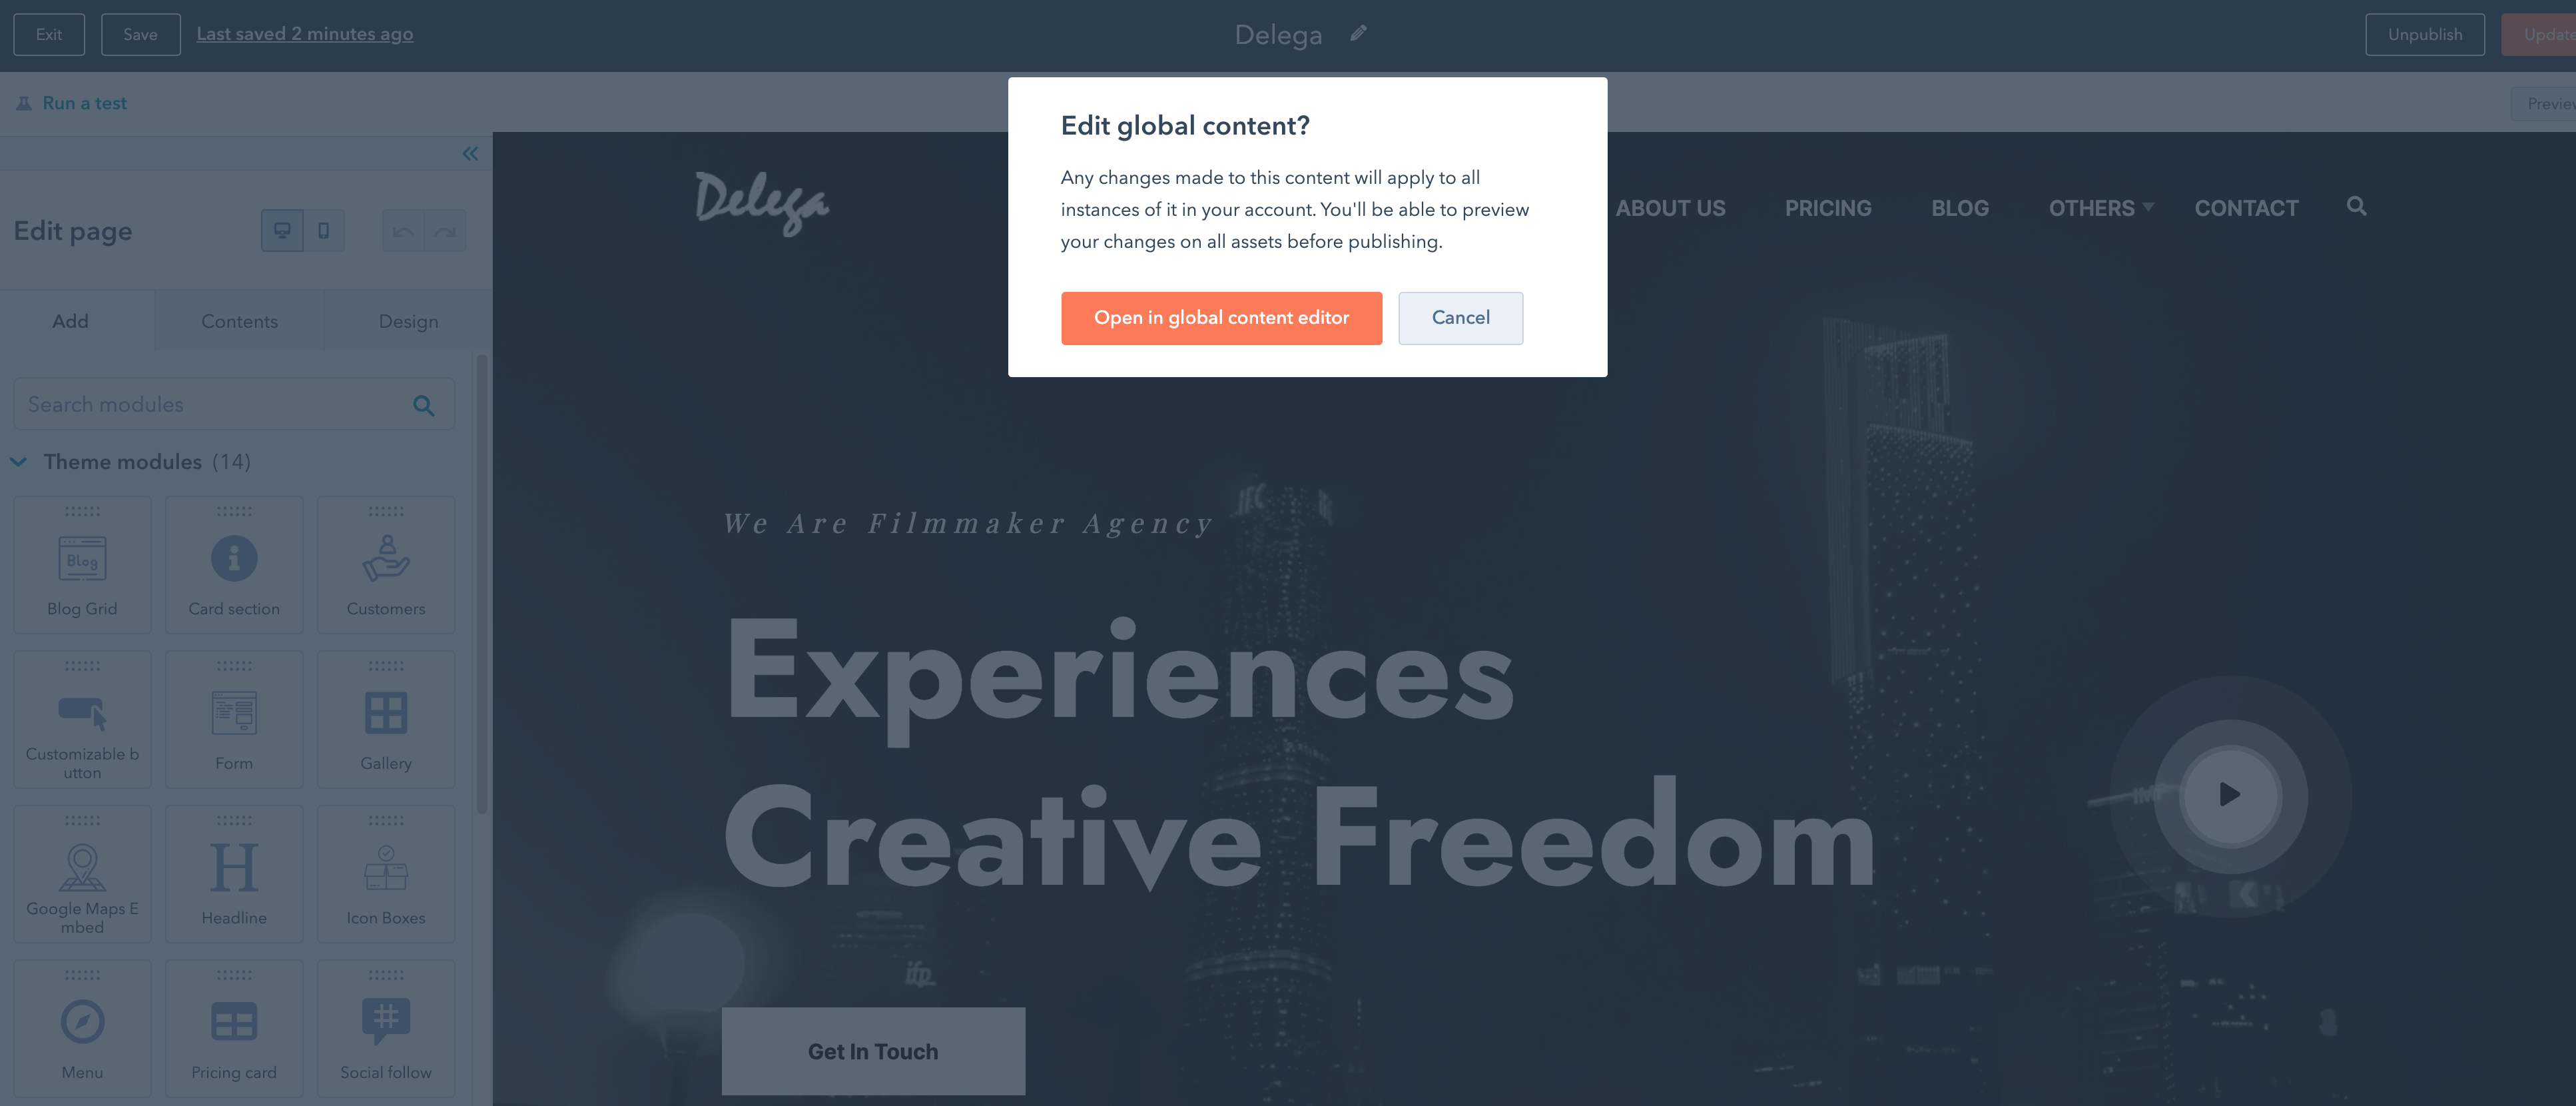
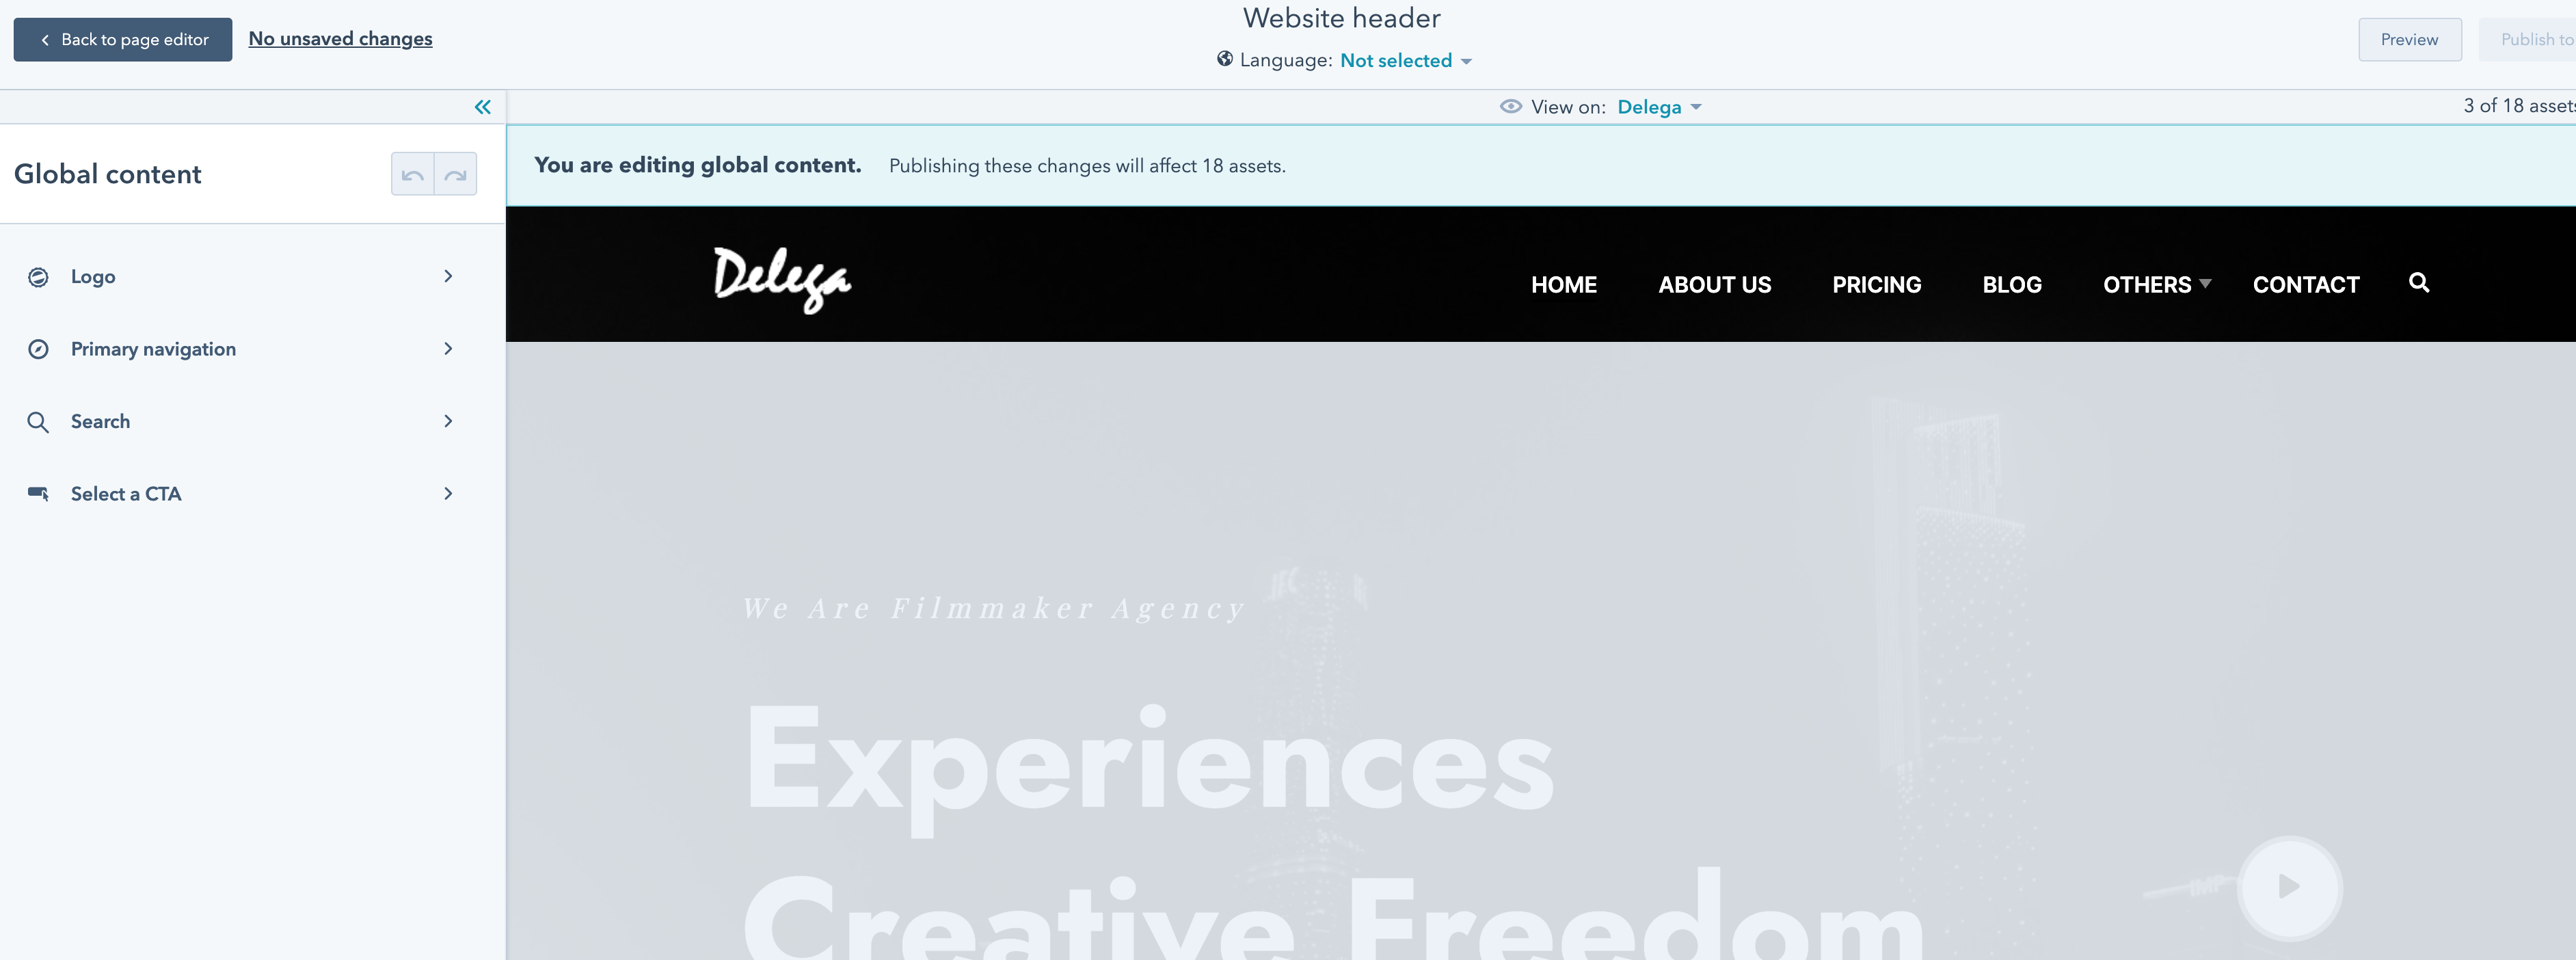
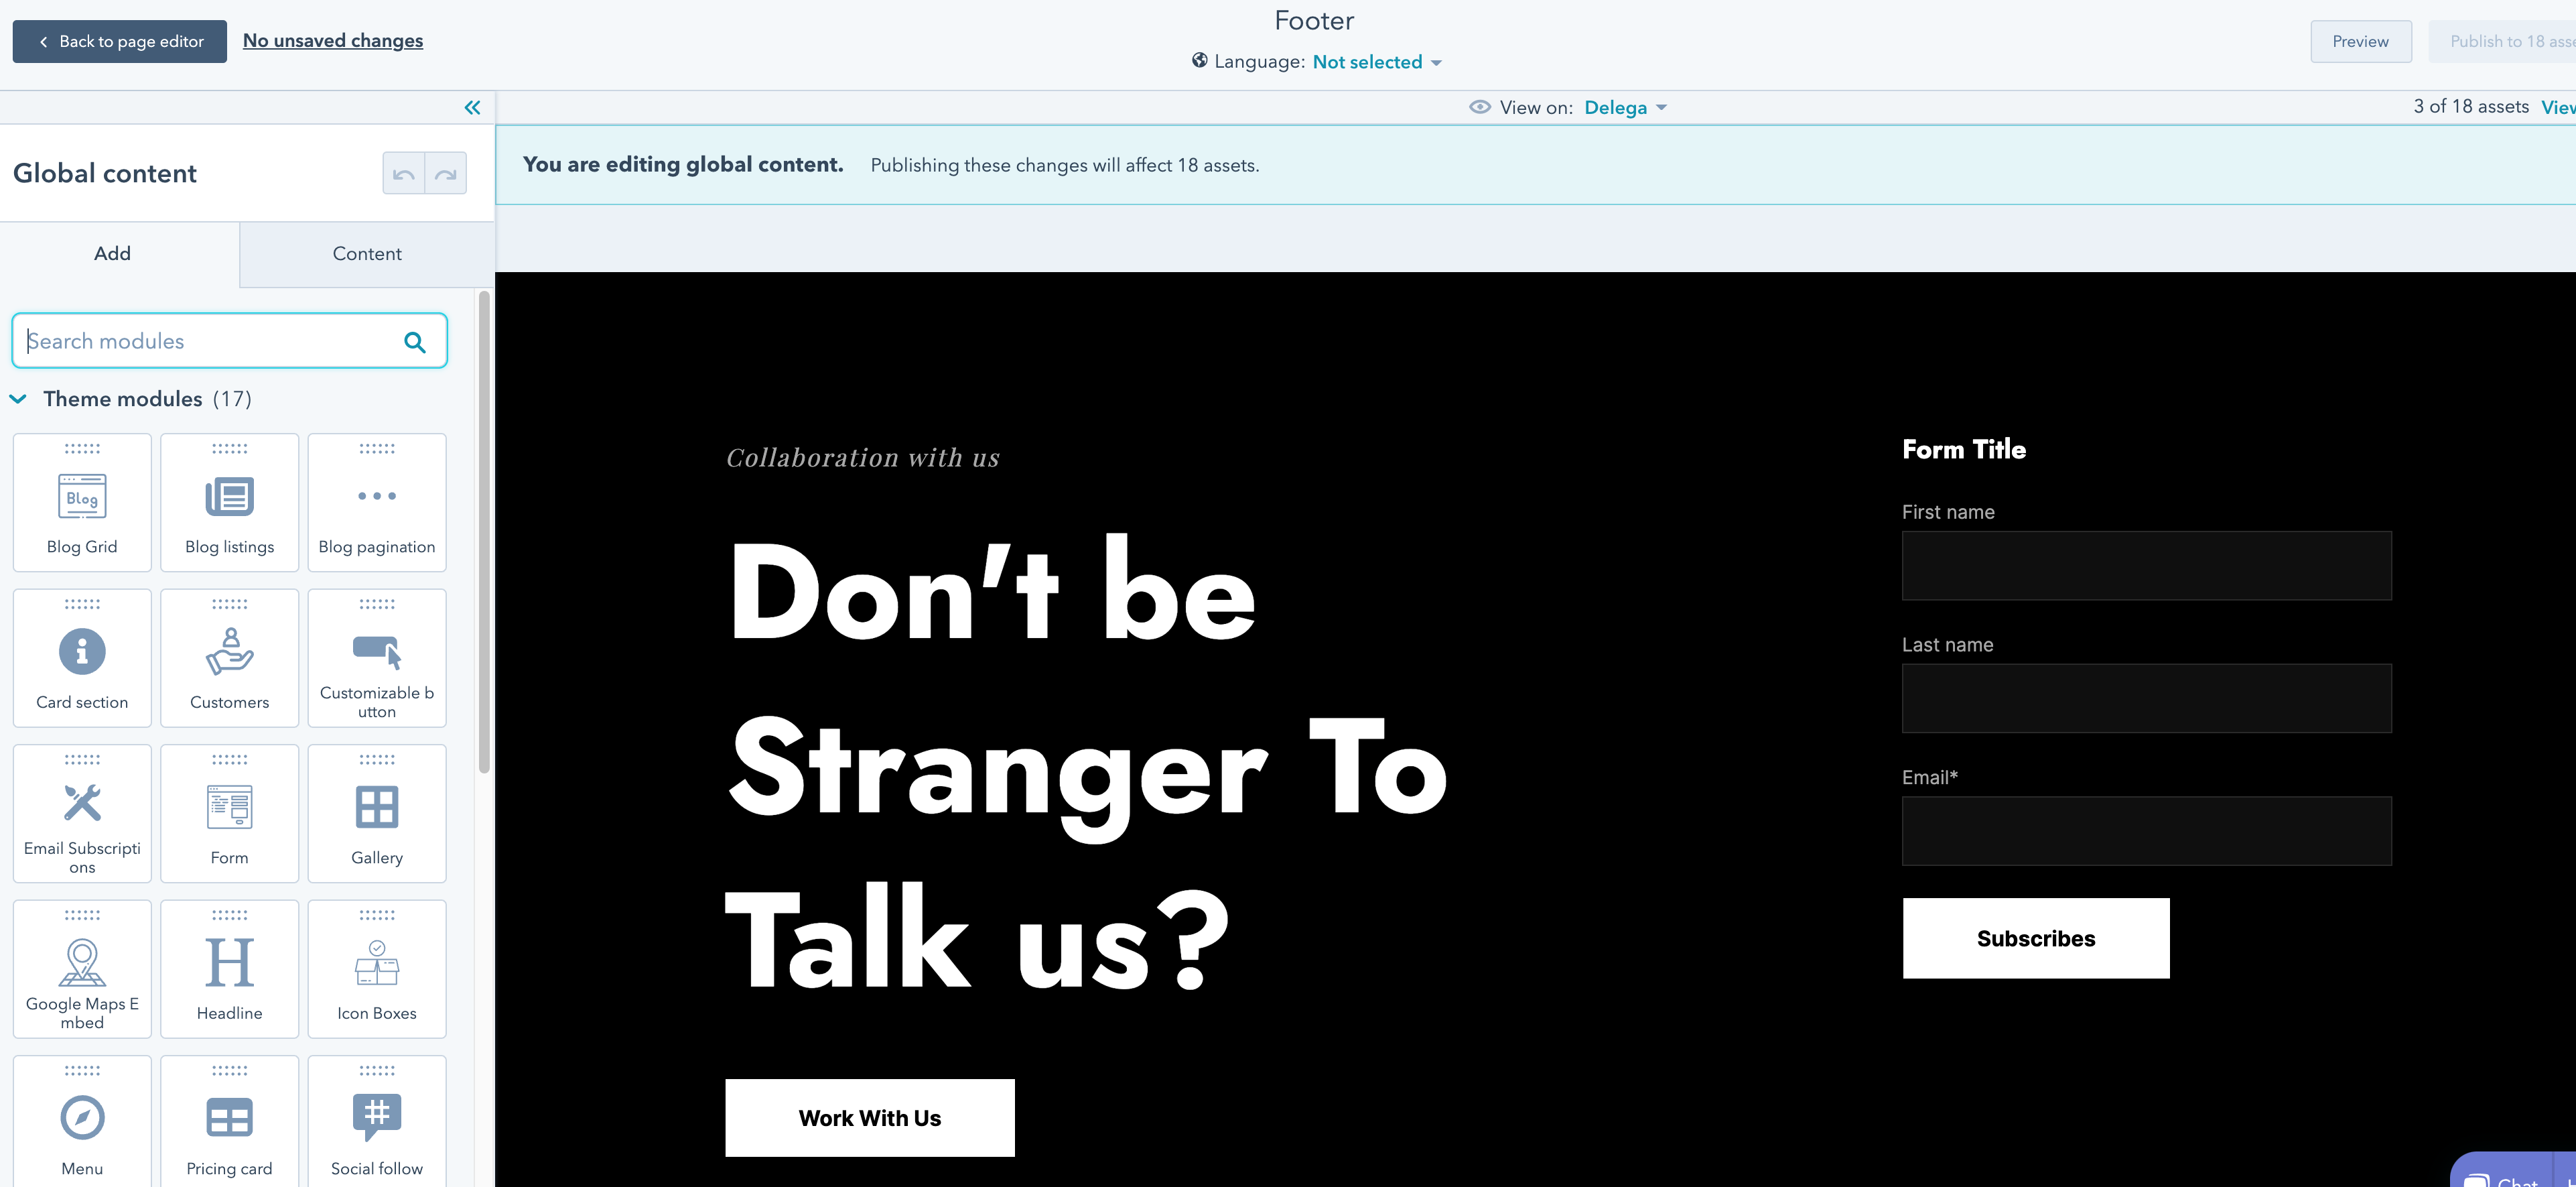
- From editor home page move the mouse to the header and footer of the home page then left click mouse and choose Open in global content editor.
- Edit the available modules in the header and footer.
- After edit modules click Publish to return page editor.
Setup Single Page (Post Page) Template
- In your HubSpot account, click the settings icon settings in the main navigation bar.
- In the left sidebar menu, navigate to Website > Blog.
- In the top right, click Create new blog.
- Set up your blog's name, language, and URL.
- In the Blog name field, enter an internal name for your blog. This name won't be seen by visitors.
- Click the Blog language dropdown menu and select a language. This determines how dates are formatted in your posts and listing page.
- Click the Blog URL dropdown menu and select the domain your blog will be hosted on.
- If you will be using a subdirectory (e.g. /blog or /news), enter the subdirectory in the Blog URL field.
- Select the Use language slug in URL checkbox to include a shortened version of your blog language in the URL
- Click Next.
- Select a template for your blog posts, then select a template for your listing page.
- In the bottom right, click Create blog.